6.28.2013

Stripe My Fancy Skirt - Part 1 - ☆ ☆

This is the "Stripe My Fancy" skirt that is for sale for $79.99 on modcloth.com. I'll show you how to replicate it yourself using the trusty dirndl formula. And once again, no zippers, no patterns, no elastic, no interfacing to deal with!

The modcloth version has a back zipper but we will be doing a simple button placket in the back.
This is a pretty simple skirt. It gets two stars for top stitching and (kind of, but not really) sewing on a curve. It took me about half an hour to cut and an hour and 15 minutes to sew. Use the dirndl formula to figure out what measurements you'll need. Plug in the number 1.75 for the skirt instead of 1.5, for a fuller skirt.

For myself, I want a waistband piece that measures 28" by 3.5."

For the skirt I need three pieces: one front and two for the back. The measurement for my front piece was 24.5" so to keep it simple I cut two large pieces at 25" x 16.5," one will be cut in half later. You will need a button placket so cut two pieces at 3" x 9.25."

For the pocket pieces, make the tallest part about 1.25" shorter than the length of your skirt, so for me: 15.25." The width of the bottom of the pocket should be a bit less than one third of the width of your front skirt piece, so for me: 7.5" + 1" s.a. = 8.5." If you're using a striped fabric like the modcloth skirt is made of, make sure you cut the pocket pieces with vertical stripes and the waist and skirt pieces with horizontal stripes. To make the pocket pieces I marked the width and height and just free-handed the rest of it with a washable marker. The first one I drew I didn't like so I redrew it a little larger and now it's visible on one pocket. It'll come out when I wash the skirt, but I'd recommend using chalk if you have any.

These are the pieces all cut out. Now on to the sewing!

Amour the Merrier Skirt - Part 3 - ☆ ☆ ☆

Use strips of stitch witchery or fusible web to attach scraps of fabric to the wrong side of your back waistband piece.

 Do the same to two of your front waistband pieces.

I skipped this step with the second version of this skirt that I did and it turned out fine. Use your best judgement! The thinner the fabric the more likely you'll want to reinforce it with some extra fabric.

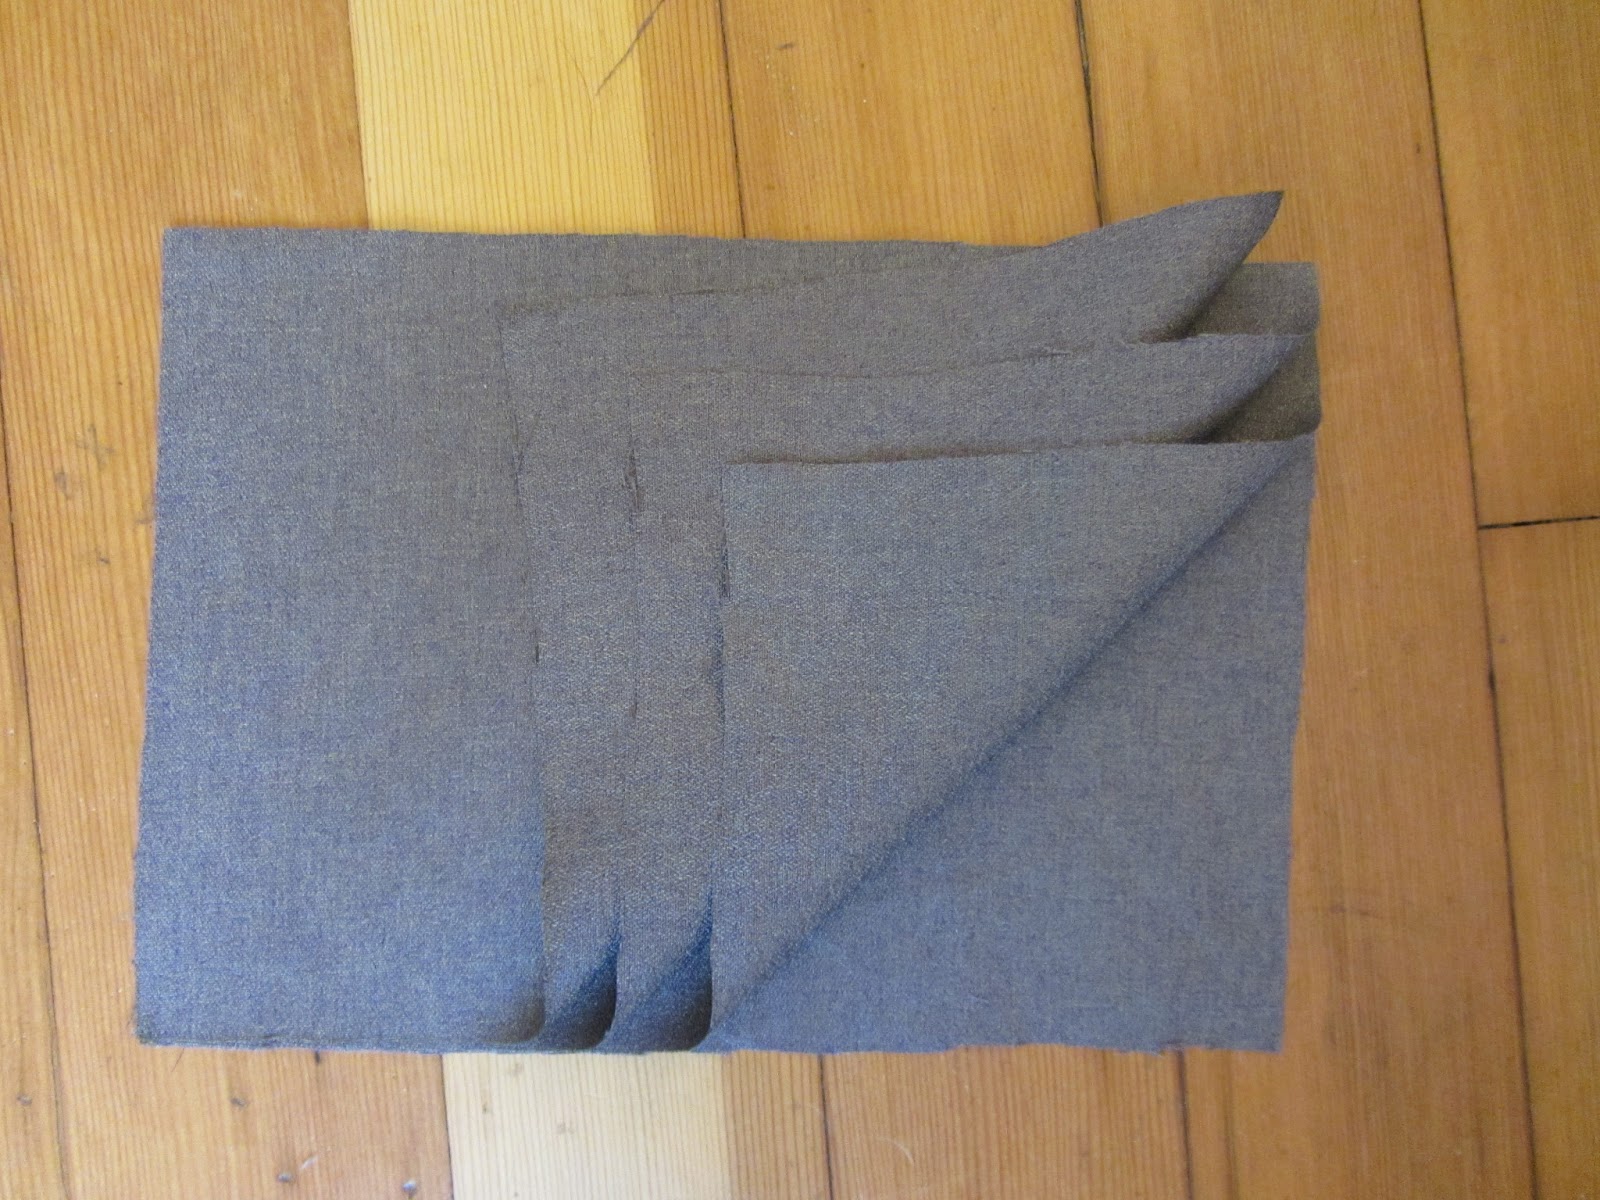
Sew the shorter (side) edges of these pieces together.
 You'll have one long piece like this:
 Do the same to the other waistband pieces. Take both long waistband pieces, right sides together, and sew along the top edge.
Press the seam allowance toward the side that will be on the inside of your finished waistband (the side that isn't "interfaced") and understitch and trim. On the bottom edge of that same piece fold and press the seam allowance up.
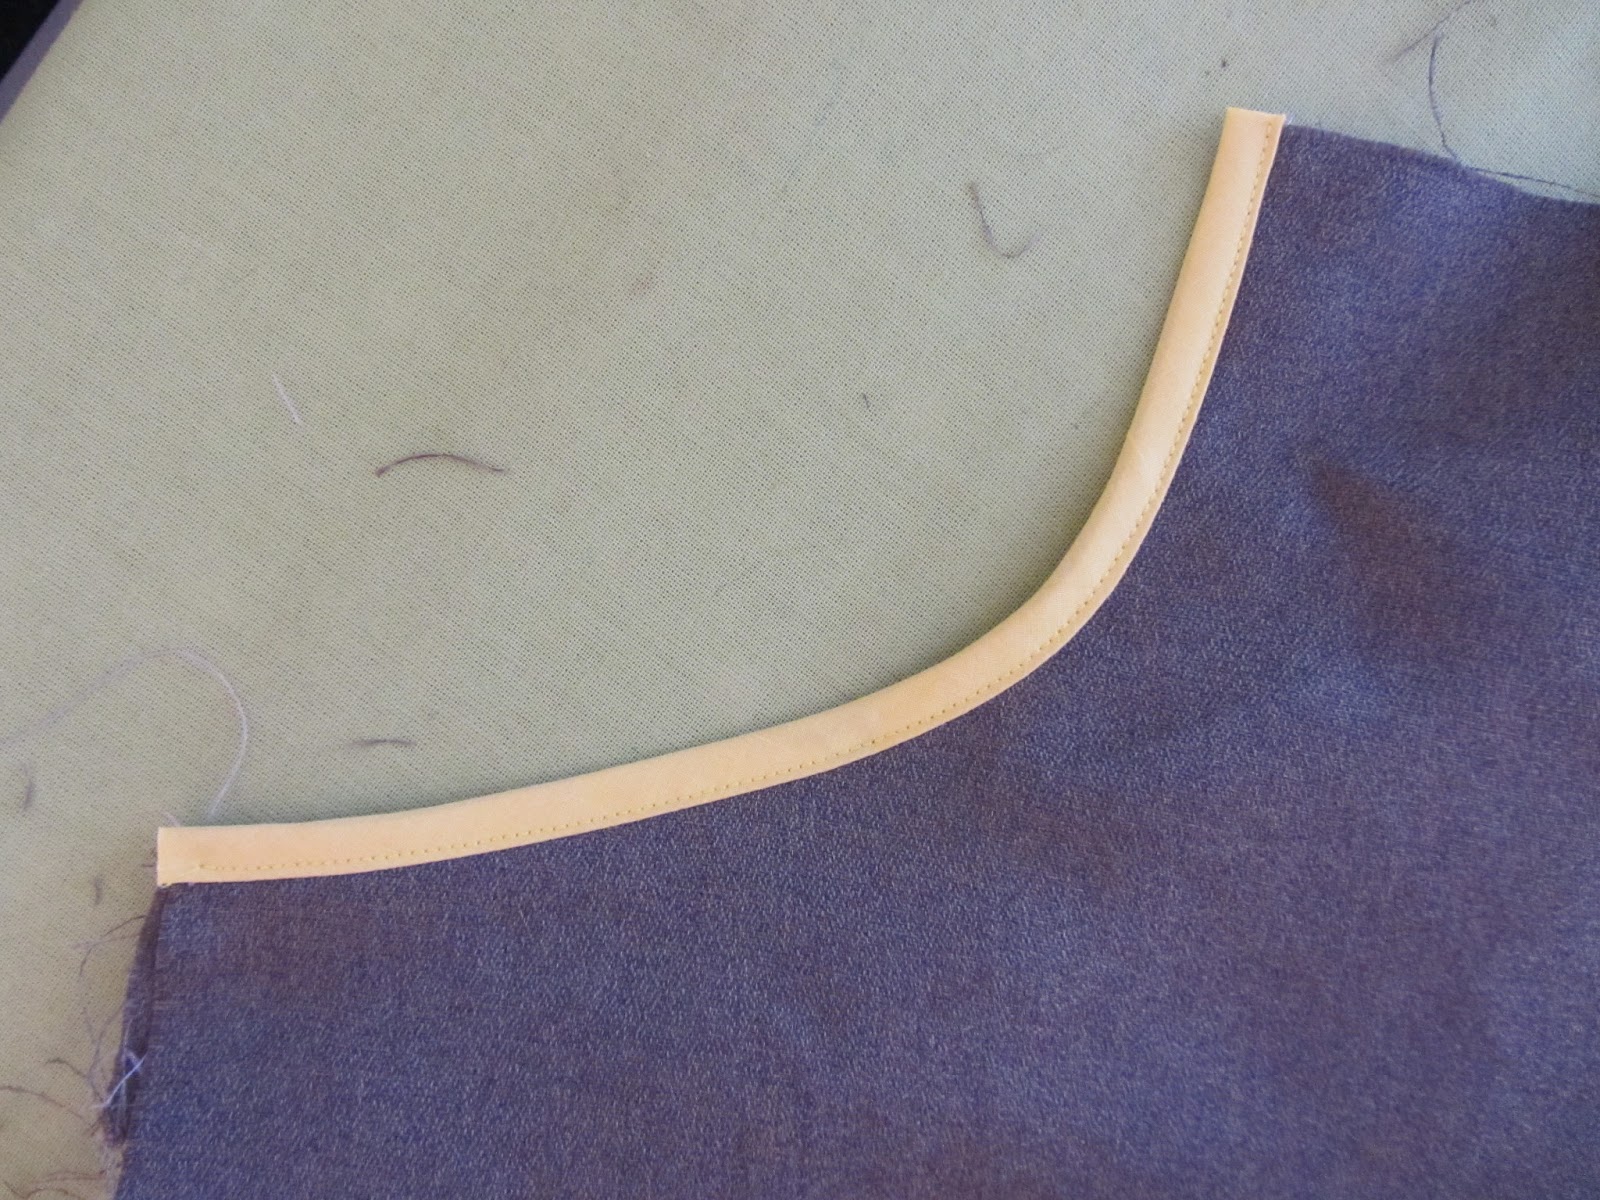
Now baste the pocket pieces with the pocket openings to the front skirt pieces and sew on your bias tape. Here is a great tutorial from The Haby Goddess on how to sew on bias binding. If you want to make your own bias tape (and you should!) here's a great tutorial on the continuous method. which is by far the best and easiest way to do it.


Place your other pocket piece on top of the pocket piece with the opening sew together the bottom and the side furthest from the edge of the skirt piece.

Baste the the remaining two sides to the skirt (top and side).
Now sew the two side pieces to the one large back piece.
Hand or machine baste the top edge of the skirt except for the part above the pocket opening. Gather your basting stitches and attach the skirt to the waistband. Press the seam allowance toward the waistband and trim.
Adjust the waistband so the seam allowance that you folded and pressed earlier is covering the stitches you just made. Topstitch through all layers from the other side, close to the edge. Almost finished! Just have to take care of those raw edges!
(I'll be using photos from the second version of this skirt that I made to illustrate how to do the button placket.) Arrange the button placket piece along the raw edge of the fabric so that the top is 1/2" above the finished top edge of the waistband.
Press the placket piece away from the skirt and trim the seam allowance. Fold the other edge of the placket piece in 1/2" and press.

This is what it should look like from the front of the skirt now.
From the front fold the placket back toward the skirt and pin.
Sew across the top, backstitching at the beginning and end.
Trim and clip the corner at an angle.
Turn the placket right side out and press so the seam allowance you folded in and pressed earlier is covering the line of stitches you made. Put stitch witchery or fusible web inside along the length of the placket. Steam press.
Do this for the other side of the skirt.
Topstitch down the length of both sides of the placket, backstitching at the top to secure.

Alllmost finished! More to come soon!

6.21.2013

Amour the Merrier Skirt - Part 2 - ☆ ☆ ☆

You've done all the math so now it's time to cut!

First cut your back waistband pieces on the fold using your measurements. Be sure to cut two of these pieces.
You can also true the edges which means making sure the corners come to a perfect right angle so everything fits together nicely when you're sewing it up. To do that, take something with a perfectly square edge, like the end of your measuring tape, and hold one side flat against your angled line. Move it until it hits the horizontal line about 1/2" away from the angled line. Draw a small line to connect. Here's some more information about truing from Madalynne.

Here you can see where they've both  been trued and it looks like the edges are turned up and both create a right angle.
Do the same (not on the fold) for your front waistband pieces making sure to cut four pieces altogether. You can draw out and cut one piece then use it as a template to cut three more. Just layer three pieces of fabric, pin your "template" on top, then cut!
Cut your skirt pieces.
And your button placket pieces.
Fold your fabric so you have four layers then cut your pocket pieces.
Use your fist as a guide to make your pocket opening.
Widen the top of the pocket a little to make it more like the pocket from the modcloth skirt.
Cut the pocket opening out on two of your four pocket pieces.


Your pieces are all cut now and are ready to sew!


6.10.2013

Amour the Merrier Skirt - Part 1 - ☆ ☆ ☆

This is the "Amour the Merrier" skirt that can be purchased for $62.99 on Modcloth. Or you can make it yourself for much less! Modcloth's version is made of a thin denim. I had some purplish-grey fabric (thrifted curtains) that had a sort of denim look. It's thin but has a nice weight and isn't see-through which the Modcloth one clearly is. It's a cute skirt, but honestly not worth 60 bucks. Even in their professional photos you can tell it's a cheap skirt. Yours will look much better, trust me! Since my fabric was purplish I chose to do the buttons, bias trim and contrast stitching in yellow. Also, I was out of red thread so that made that decision pretty easy...

The Modcloth version has a faux button placket and a zipper in the back. My version has a functional button placket. Sticking to the whole no-pattern, no-zipper, no-interfacing dirndl formula.
Bias trim and contrast stitching seriously make everything cuter...

First, we plan! I want the wide waistband to be about 5 inches and the length of the skirt to be about 14.5 inches when finished. You will need to measure your natural waist and take another measurement 5 inches down from your natural waist. If you want, you can tie a piece of twine or yarn around these two areas. Use a mirror to make sure they are as straight as possible and exactly 5 inches apart.

Take your natural waist measurement + ease and divide it by 4.
So with my measurement it is: 26.5 + 0.5 = 27; and  27 / 4 = 6.75

To determine how much you need to add to the bottom of the waistband you will use your second measurement (5 inches down from your natural waist). Add ease to that measurement and divide that number by 4 as well. The difference between that number and the number you got earlier (from dividing your natural waist by 4) is what you will need to add to the bottom of the waistband. For me that difference was 6.5" which I divided (again!) by 4 which means I need to add 1 5/8" to each side.

With my measurement:

33 + 0.5 ease = 33.5
33.5 - 27 (natural waist + ease) = 6.5
6.5 / 4 = 1 5/8"

I know this can be kind of confusing. Here's a little visual aid to help:
For the skirt multiply your natural waist by 1.75. For me: 26.5 x 1.75 = 46 (round up or down to the nearest even number). Divide that number by 2 for the back skirt piece then add 1 inch for seam allowances. I want the length of the skirt to be 14.5 so I added 1.5" for the hem and 0.5 for the seam allowance at the top. So I want my back skirt piece to be 24" x 16.5"

For the the front skirt pieces divide your skirt measurement (46 for me) by 4. That number is 11.5 for me. Add 1 inch of seam allowances to each piece. My skirt front pieces will be 12.5" x 16.5"

Now you just need your placket measurement. I want mine to be 1.25" wide. 1.25 x 2 = 2.5; 2.5 + 1 s.a. = 3.5. The finished measurement of your 5 inch waist and 14.5 inch skirt will make the total length of the skirt 19.5 inches. Add to that number 1.5 for the hem and 0.5 for the top seam allowance. My placket piece will be 3.5" x 21.5"

Ok, hopefully that wasn't too confusing! Now that you've done all the math it's time to cut out your pieces!