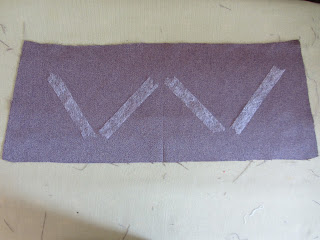
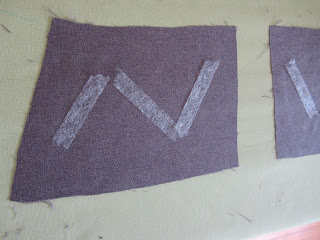
Do the same to two of your front waistband pieces.
I skipped this step with the second version of this skirt that I did and it turned out fine. Use your best judgement! The thinner the fabric the more likely you'll want to reinforce it with some extra fabric.
You'll have one long piece like this:
Do the same to the other waistband pieces. Take both long waistband pieces, right sides together, and sew along the top edge.
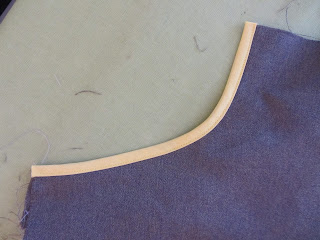
Now baste the pocket pieces with the pocket openings to the front skirt pieces and sew on your bias tape. Here is a great tutorial from The Haby Goddess on how to sew on bias binding. If you want to make your own bias tape (and you should!) here's a great tutorial on the continuous method. which is by far the best and easiest way to do it.
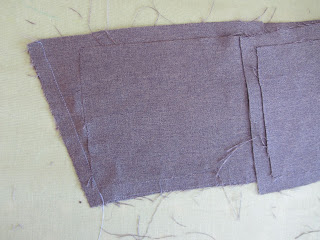
Place your other pocket piece on top of the pocket piece with the opening sew together the bottom and the side furthest from the edge of the skirt piece.
Baste the the remaining two sides to the skirt (top and side).
Now sew the two side pieces to the one large back piece.
Hand or machine baste the top edge of the skirt except for the part above the pocket opening. Gather your basting stitches and attach the skirt to the waistband. Press the seam allowance toward the waistband and trim.
(I'll be using photos from the second version of this skirt that I made to illustrate how to do the button placket.) Arrange the button placket piece along the raw edge of the fabric so that the top is 1/2" above the finished top edge of the waistband.
Press the placket piece away from the skirt and trim the seam allowance. Fold the other edge of the placket piece in 1/2" and press.
This is what it should look like from the front of the skirt now.
From the front fold the placket back toward the skirt and pin.
Sew across the top, backstitching at the beginning and end.
Trim and clip the corner at an angle.
Turn the placket right side out and press so the seam allowance you folded in and pressed earlier is covering the line of stitches you made. Put stitch witchery or fusible web inside along the length of the placket. Steam press.
Do this for the other side of the skirt.
Topstitch down the length of both sides of the placket, backstitching at the top to secure.
Alllmost finished! More to come soon!


No comments:
Post a Comment